I know, I know, I know.
There are tons of tutorials
about journal/notebook covers out there.
I've seen them.
I'm going to add one more
to the mix.
My version.
Not that my way
is the only way.
Heavens no.
This is just my technique.
Good or bad.
It works for me.
I can put one of these babies together in about a half an hour.
Yes.
Half an hour.
In this season of
make sure everyone gets a gift,
make it inexpensive,
make it easy,
make it cute,
but most of all
make it
fast,
I felt that this little journal/notebook cover
fit the bill.
So, I'm sharing.
Apologies in advance for
the photography
(I'm just not an expert).
Tutorials are still a bit of an
unknown territory
for me.
Questions?
Leave me a comment and e-mail.
I'll try to clear up any questions quickly.
First, you will need:
1 composition book
23" x 12" of fashion fabric
20" x 6.5" of embellishment fabric
coordinating thread
pins
scissors
seam gauge or ruler
sewing machine
Make sure the fabric is prewashed and pressed nicely.
Fold the fashion fabric in half (short ends together)
and press a nice crisp crease.
Open the fabric and lay the notebook spine
along that crease.
With a marking tool,
(I broke a sewing commandment and just used a regular old pencil),
make a mark along the long edge of the book.
This should be on the INSIDE of the fabric.
Fold right sides together along this line and press a nice crease.
Doing this will help us to know the edge of the book
giving us the book's boundries as we are doing our embellishments.
Trust me, this will save you tons of aggrivation
as you are decorating the journal.
Do this on both ends of the fabric.
These are also the pockets for the notebook's flaps to slide into.
Now for the embellishment.
Let me just say that I have my own style with all of these covers
and
this is the point where you decide how and with what to
embellish your cover.
Go wild
and
do whatever
you want to now.
The fabric is flat and easy to work with.
The creases that you have ironed into the fabric
show you exactly where the edge of the book is
and where the spine will lay.
So, have some fun with it and make it special.
But, here's what I do.
I take the 20" x 6.5" fabric and press it really nice.
I then fold it in half lengthwise and press again.
I then open up the fabric and fold one lengthwise edge
up to the crease and press.
I do this on both sides and
come up with something that looks like this.
I then turn up the one of the short ends about 3/4"
and press it down nice and flat.
Opening that fold up, I take the corner and fold
it on the bias matching the fold lines.
I use the bias line on my ironing board for a guide.
Press.
I then refold the lengthwise side back along its crease like so.
I refold the other fold along its
crease and press.
I repeat this process on the other corner.
I now have two nice sharp corners.
I lay this strip of fabric right along the center crease
about 3-3/12" from the top edge.
Pin in place.
I then begin my pleats.
No rules on the pleats.
I just fold it.
This can be off a bit crooked or nice and straight.
Depends totally on my mood.
If I've made tons of these in one day,
they may be just pretty crooked.
That's style, isn't it?
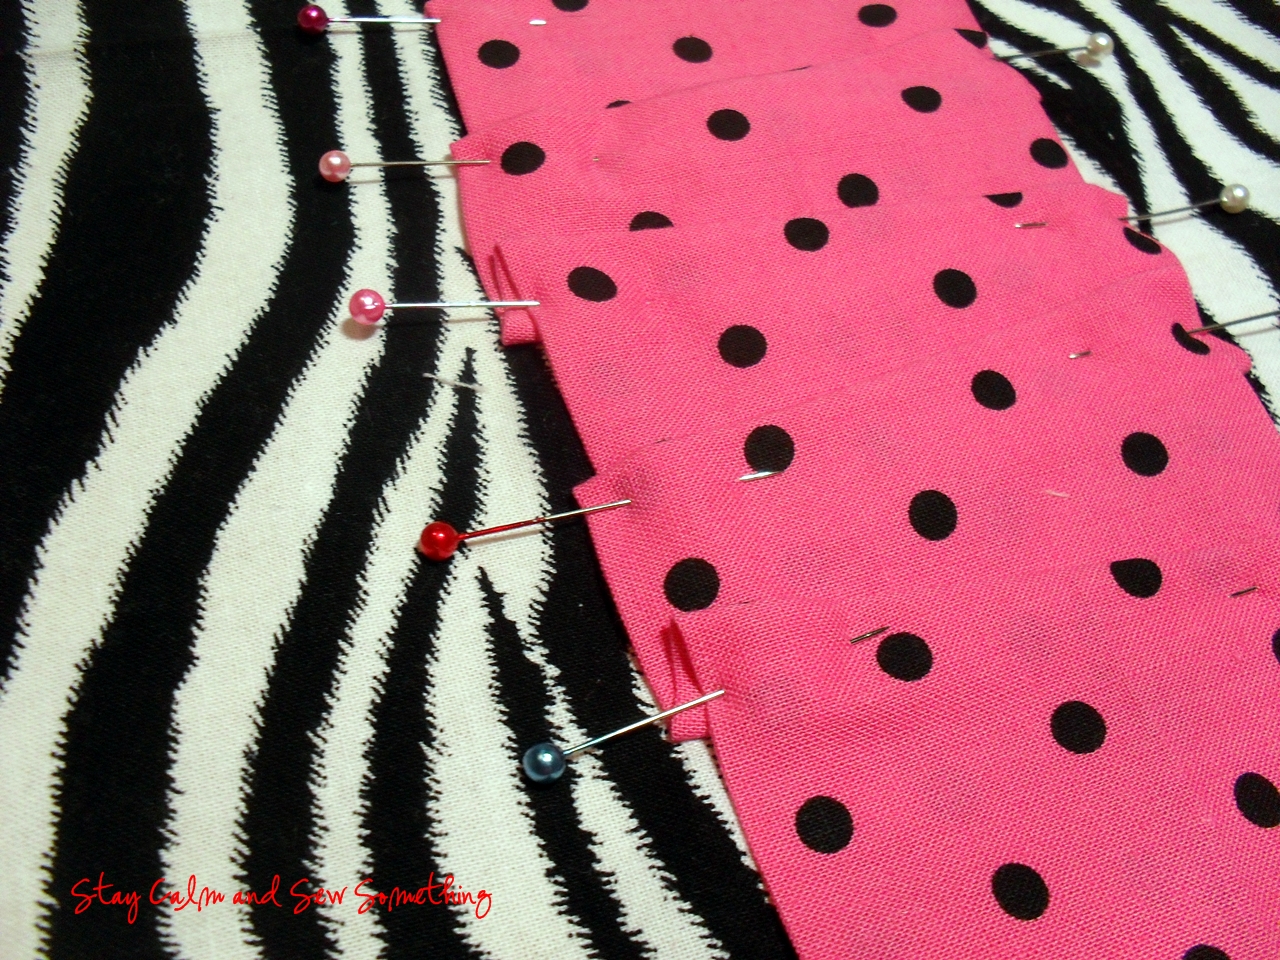
I'm a real pin freak and pin, pin, pin.
I like control over my fabric and
not allow it to have
control over me.
I stop the folds just before the crease that marks the edge of the book.
I just lay out the fabric and pin it down to be sew flat.
This wraps the embellishment fabric
into the inside of the book.
A nice touch, I think.
But you could stop it at the crease, especially if you were short on fabric.
Just be sure beforehand to fold up both short ends
and make nice sharp corners at all four corners insead of just the two.
All pinned down, it will look something like the picture below.
When I begin stitching,
I start out using my pressure foot edge as a guide,
but if my pleat edges aren't straight, I have to eye-ball it to
keep the stitch line straight.
Using a ruler and fabric marker ahead of time to mark a stitch line
is really a good idea here.
When I get to the edge of the book (center crease)
I do a pivet turn and stitch rather close to the edge,
pivot again and continue sewing down the other side.
My design looks something like this after stitching.
I will then trim off any excess fabric like I show below.
At the point, we are ready to do a little sewing
and turn this fabric into a notebook cover.
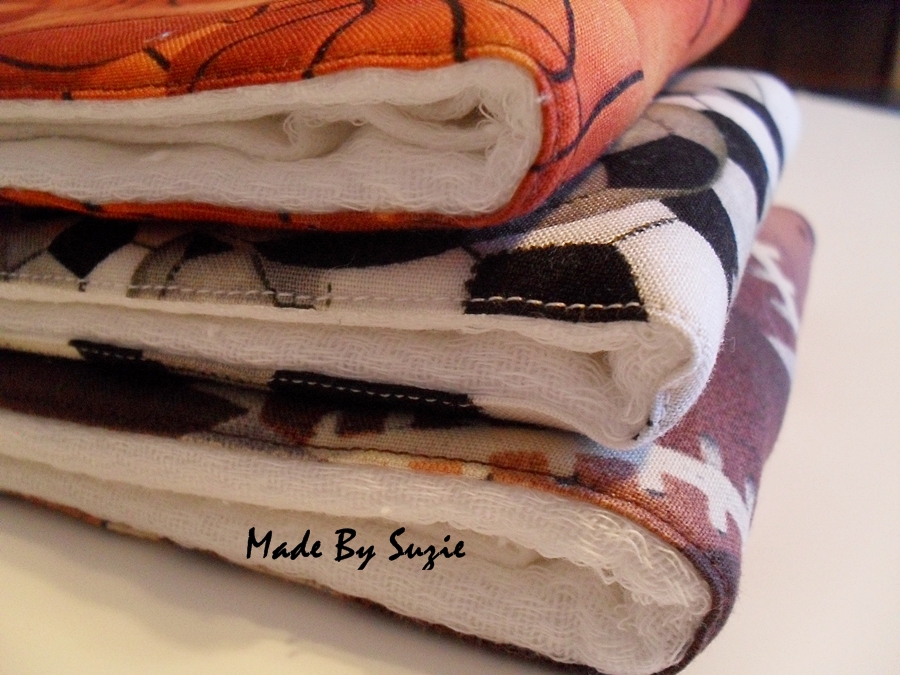
When you have done your decorating,
you will want to finish off the raw edges of the
cover by either using a serger, as I have done,
or use a simple zig-zag stitch.
Go around all four sides.
Lay out your cover flat and fold up the flaps that will
become the pockets for the notebook,
right sides together.
This is the fold you ironed in earlier
along the marked line.
Now, take the notebook
and lay the page edge of the book
right along that fold.
Center the book carefully.
Take your fabric marker of choice and trace the top and bottom edge
of the notebook right onto the fabric.
This will be the line you will stitch along to
form the top and bottom of the cover's pockets.
Do this on both sides of the book cover.
You will have four stitch lines in total, one at each corner of the cover.
Pin and stitch along all four line markings.
Turn the corners right side out.
Get those corners nice and sharp.
At this point,
I always try the cover on my notebook.
I can make whatever adjustments I need
if the cover is too tight or to loose.
After you have made any adjustments
and made sure the fit is right,
press the cover nice and smooth.
Pay attention to the corners and the
top and bottom edges.
Pressing well will make a world of difference
in the look of the finished cover.
After you have pressed the cover, slip it on the notebook.
Now, go out there and make some fabulous gifts!
Sew Happy,