Showing posts with label Beginner Sewing. Show all posts

Monday, February 21, 2011

Gotta a Hole in One?

First of all,
let me apologize
to the
person
who commented on my other posting of this tutorial.
I have had to go in
and redo the whole thing
because blogger
is acting stupid
and wouldn't
let me do any edits.
I loved your comment
and feel bad for having to delete it.

I realized that
jeans with holes in them
are a bit of a fashion
statement
these days.

However,
I was raised in a time
when one ironed their
blue jeans.

So, jeans with holes in them
kind of
go against my
grain.
(no pun intended)

I raised 4 boys.
Hand-me-downs were
just a way of life
when it came to blue jeans.
So patches were
common.
It was a part of
clothing
my family
without going broke.

Here's how I have always done it.
Try not to let your holes get too big.
However, I have patched worse and they've turned out okay.

Tuesday, January 11, 2011

The Wedding Dress Sleeves -- How To Make Petal Sleeve Pattern

I'm doing pretty well
on this wedding dress.
I'm right on schedule
of where I want to be.
There is just over 2 weeks left
until the wedding,
and I feel that I can
actually get this done afterall!
I'm came to a stand still
waiting for a fitting
and then placement of the lace,
so I decided to jump ahead a bit
and go ahead and get the
sleeve pattern drawn
and the sleeves ready for
the lace that will go on them.

The bride
wants petal sleeves.
This is one style
of petal sleeves to give you an idea
of what we are talking about here.

The only difference between the
sleeve that I am actually making
is that the petal "lap"
will be towards the back
of the sleeve
instead of the front of the sleeve
as shown here.

Friday, December 3, 2010

Fabric Friday -- Satin

It seems odd
for it to be the Christmas season and
about the only thing on my
mind right now is
a wedding dress.
I have to keep reminding myself
that I still have a major
holiday event to
plan and prepare for
but this dress is
what is taking
up most of my brain processes these days.

But can you blame me?  
I am so EXCITED
to do this dress!  

It's the sewing challenge
I have been craving
and waiting for
for a long time.
So, 
amid all the 
long lines,
decorating, 
baking, 
wrapping, 
plotting
and
planning of the season,
I'm studying up
on all the finer points
of gown design and construction.

I thought I would share with you
a bit of knowledge about satin and some of the
beautiful dresses
available
 today
for Fabric Friday this week.  

Great Things About Satin 
*Satin can be made from silk, rayon, acetate, polyester or even cotton. 
*It is the staple for the wedding gown industry. 
*It is considered one of the most luxurious fabrics in the world,
especially if made with silk.
*Satin is used in apparel, draperies, lingerie, linings, upholstery
and even shoes.
*Satin derives its shine or luster from the way it is woven.  
*Light reflects off of the warp yarns (lengthwise yarns)
that float over the weft yarns (horizontal yarns).
*It's soft. 
*It has a special luster. 
*It's elegant. 
*It's perfect for a princess! 
Types of Satin 
*Crepeback Satin - Highly twisted yarns are used as the weft or filling yarns while low-twisted yarns are used in the warp.  This produces a very soft, drapy, clingy version with a high amount of shine depending on fiber content. 
The back of the fabric will remind you of the texture of crepe paper.
This is commonly used in evening wear and lingerie.
*Antique Satin -  Uses slub yarn (thick & thin, a natural spun look) in the weft giving the fabric a look of fabric that is hand produced. 
Most common in wedding gowns, costumes or interior fabrics. 
*Duchesse Satin - High yarn count of a finer yarn both in warp and weft.  Crisp, heavier body than most silks.  Luster dependent on fiber content but usually a lower luster. 
Most common bridal satin available on the market today.
*Slipper Satin -  Heavy, stiff satin used in the shoe industry.  Typically, this is not available in your local fabric store.  
Sewing with Satin 
Laying out Pattern & Cutting 
1.  Scissors and pins should be very sharp.  Dull equipment will snag satin.  Once it's snagged, there's no fixing the problem. 
2.  All satin has a nap, or a directional shade difference, caused by the weave.  All pattern pieces need to be layed out and cut according to the nap instruction of the pattern.  Don't ignore this.  
3.  Pin fabric to an old sheet or sheets of tissue paper to keep it from shifting during the cutting process.  No shifting means accurate cutting and accurate seaming.  
4.  Speaking of pins, make sure they are nice and sharp AND pin only in the seam allowances of the pattern.  Pins break the "floating" fibers and once broken and cause pin marks that just do not go away.  Try "silk" pins. 
That being said, pins are so important in helping control satin as it has a mind of its own.  Use pins to keep control,
just be mindful where you put them.
5.  Avoid "ripping" out seams.  Make all the proper fit adjustments prior to sewing and sew carefully.  Too much ripping out leaves unsightly marks. Again, these just can't be fixed.   

Stitching
1.  Use a new sewing machine needle.  With a large project like a wedding dress, I try and have half a dozen or more of the size I'm using on hand and change every so often, especially if I've hit a pin or sewn for many hours with the same needle.  
2.  Make sure the needle size and thread size are compatible with the fabric.  I tend to use a finer needle, 7 or a 9, with a lingerie thread
for most of my gown sewing. 
3.  For finer satins, use a base of tissue paper under your two layers of fabric that you are sewing to keep it from drawing down into the bobbin area and cazing a nasty jam.  Been there, done that.  Sigh.  This also can help to keep the layers from slipping around on the machine bed. 
4.  Try a walking foot, if you have one, when sewing.  This will keep the layers together and not slipping against one another.  A real lifesaver. 

Pressing
1.  Keep in mind the fiber content on this one.  Polester will take a bit more heat than silk.  Always test iron temperatures on scrap pieces prior to pressing.  Start low and increase temp as needed.  
2.  Use a PRESSING motion (up and down) not a side-to-side ironing motion.  You can easily over press satin as well as iron in creases or even flatten the weave and dull the shine.  Go easy.  Press just enough to acheive flat seams, crisp point, etc., but don't over do.  
3.  Never use steam.  Water stains satin.  Fabric ruined.  Enough said.  
4.  Use a pressing cloth.  Even tissue paper can be used in a pinch on low heat.  
5.  Prior to pressing, make sure iron is free of dirt, grim, scum and is smooth.  Same with the ironing board.  A new ironing board cover is a good investment at the start of a big project. 

Sew Happy!  
  

Saturday, November 27, 2010

Journal/Notebook Tutorial - My Version

I know, I know, I know.
There are tons of tutorials
about journal/notebook covers out there.
I've seen them.
I'm going to add one more
to the mix.
My version.
Not that my way
is the only way.
Heavens no.
This is just my technique.
Good or bad.
It works for me.
I can put one of these babies together in about a half an hour.
Yes.
Half an hour.
In this season of
make sure everyone gets a gift,
make it inexpensive,
make it easy,
make it cute,
but most of all
make it
fast,
I felt that this little journal/notebook cover
fit the bill.
So, I'm sharing.
Apologies in advance for
the photography
(I'm just not an expert).
Tutorials are still a bit of an
unknown territory
for me.
Questions?
Leave me a comment and e-mail.
I'll try to clear up any questions quickly.

First, you will need:

1 composition book
23" x 12" of fashion fabric
20" x 6.5" of embellishment fabric
coordinating thread
pins
scissors
seam gauge or ruler
sewing machine


 Make sure the fabric is prewashed and pressed nicely.
Fold the fashion fabric in half (short ends together)
and press a nice crisp crease.
Open the fabric and lay the notebook spine
along that crease.
 With a marking tool,
(I broke a sewing commandment and just used a regular old pencil),
make a mark along the long edge of the book.
This should be on the INSIDE of the fabric.
 Fold right sides together along this line and press a nice crease.
Doing this will help us to know the edge of the book
giving us the book's boundries as we are doing our embellishments.
Trust me, this will save you tons of aggrivation
as you are decorating the journal.
 Do this on both ends of the fabric.
These are also the pockets for the notebook's flaps to slide into.
 Now for the embellishment.
Let me just say that I have my own style with all of these covers
and
this is the point where you decide how and with what to
embellish your cover.
Go wild
and
do whatever
you want to now.
The fabric is flat and easy to work with.
The creases that you have ironed into the fabric
show you exactly where the edge of the book is
and where the spine will lay.
So, have some fun with it and make it special.
But, here's what I do.
 I take the 20" x 6.5" fabric and press it really nice.
I then fold it in half lengthwise and press again.
 I then open up the fabric and fold one lengthwise edge
up to the crease and press.
 I do this on both sides and
 come up with something that looks like this.
I then turn up the one of the short ends about 3/4"
and press it down nice and flat.
  Opening that fold up, I take the corner and fold
it on the bias matching the fold lines.
I use the bias line on my ironing board for a guide.
Press.
 I then refold the lengthwise side back along its crease like so.
 I refold the other fold along its
crease and press.
I repeat this process on the other corner.
 I now have two nice sharp corners.
I lay this strip of fabric right along the center crease
about 3-3/12" from the top edge.
Pin in place.
 I then begin my pleats.
No rules on the pleats.
I just fold it.
This can be off a bit crooked or nice and straight.
Depends totally on my mood.
If I've made tons of these in one day,
they may be just pretty crooked.
That's style, isn't it?
 I'm a real pin freak and pin, pin, pin.
I like control over my fabric and
not allow it to have
control over me.
I stop the folds just before the crease that marks the edge of the book.
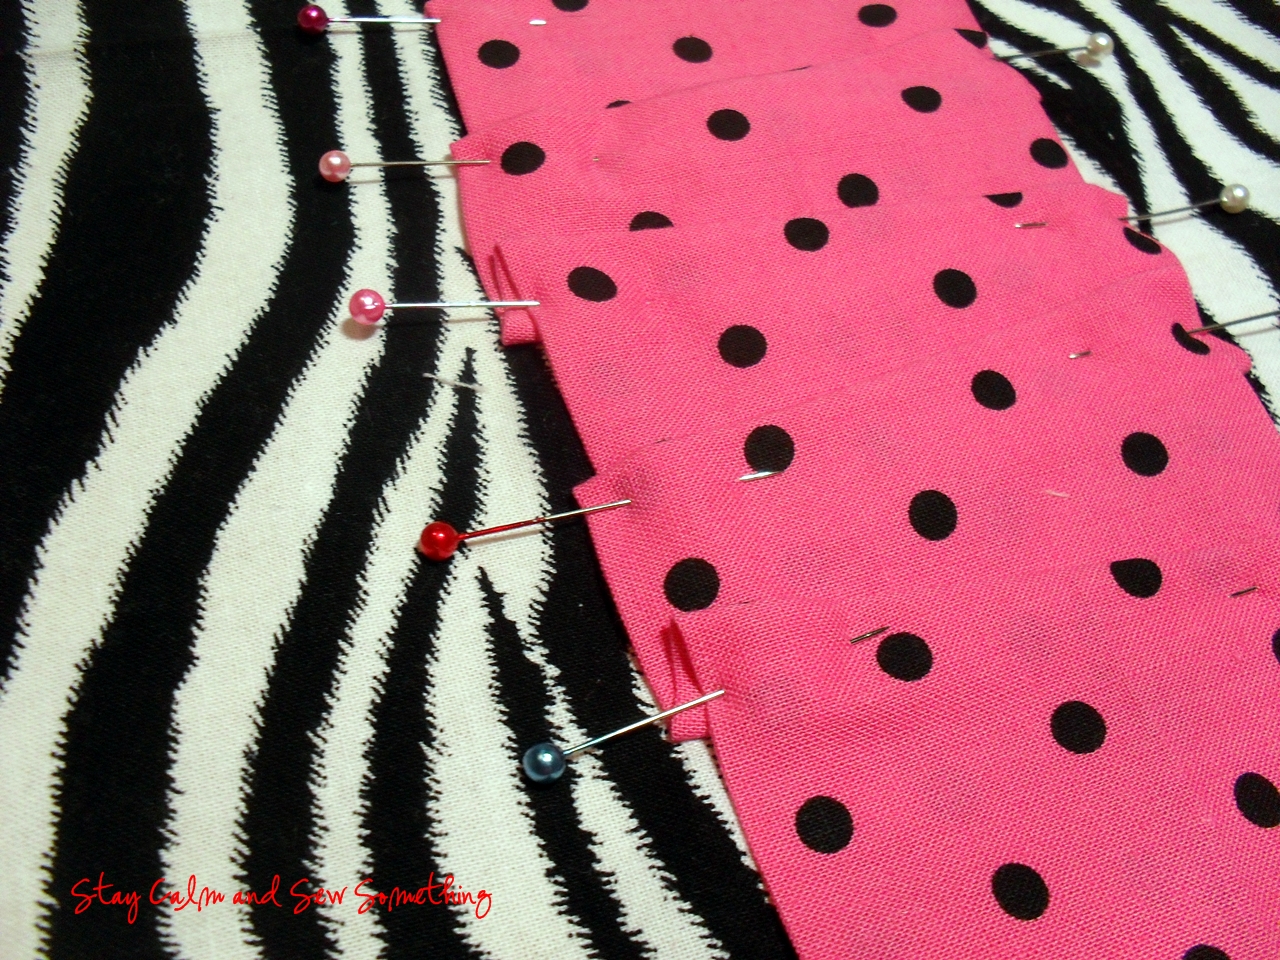
I just lay out the fabric and pin it down to be sew flat.
This wraps the embellishment fabric
into the inside of the book.
A nice touch, I think.
But you could stop it at the crease, especially if you were short on fabric.
Just be sure beforehand to fold up both short ends
and make nice sharp corners at all four corners insead of just the two.
 All pinned down, it will look something like the picture below.
 When I begin stitching,
I start out using my pressure foot edge as a guide,
but if my pleat edges aren't straight, I have to eye-ball it to
keep the stitch line straight.
Using a ruler and fabric marker ahead of time to mark a stitch line
is really a good idea here.
 When I get to the edge of the book (center crease)
I do a pivet turn and stitch rather close to the edge,
pivot again and continue sewing down the other side.
 My design looks something like this after stitching.
I will then trim off any excess fabric like I show below.

 At the point, we are ready to do a little sewing
and turn this fabric into a notebook cover.
When you have done your decorating,
you will want to finish off the raw edges of the
cover by either using a serger, as I have done,
or use a simple zig-zag stitch.
Go around all four sides.
 Lay out your cover flat and fold up the flaps that will
become the pockets for the notebook,
right sides together.
This is the fold you ironed in earlier
along the marked line.
 Now, take the notebook
and lay the page edge of the book
right along that fold.
Center the book carefully.
 Take your fabric marker of choice and trace the top and bottom edge
of the notebook right onto the fabric.
This will be the line you will stitch along to
form the top and bottom of the cover's pockets.
Do this on both sides of the book cover.
You will have four stitch lines in total, one at each corner of the cover.
 Pin and stitch along all four line markings.
 Turn the corners right side out.
Get those corners nice and sharp.
At this point,
I always try the cover on my notebook.
I can make whatever adjustments I need
if the cover is too tight or to loose.
After you have made any adjustments
and made sure the fit is right,
press the cover nice and smooth.
Pay attention to the corners and the
top and bottom edges.
Pressing well will make a world of difference
in the look of the finished cover.
 After you have pressed the cover, slip it on the notebook.
Now, go out there and make some fabulous gifts!


Sew Happy,

Friday, November 12, 2010

Fiber Friday -- Wool

I really am learning to love natural fibers and their qualities. One fiber I have yet to gain real experience with is wool. So, I thought that, with a little research, we might learn a few things together.
Fun Facts about Wool

  • There are more than a billion sheep in the world today yielding nearly 6 billion pounds of wool each year.
  • Australia ranks first in the world’s wool production. The US ranks about 15th.
  • The average once-a-year sheering of one sheep produces about 8-1/2 pounds of wool.
  • The US only produces about 40% of the wool used by manufacturers in this country and import the rest.
  • Wool yarn is very resilient and the fibers stretch making it resistant to wrinkles. 
  • Wool has excellent insulation properties and is warm in the winter and cool in the summer because of its ability to absorb moisture. Also, no static cling with wool.
  • Wool is very versatile and can be made into very lightweight knits or bulking tweeds and heavy over coating.
  • Recent technology has given us wool that is moth proof, shrink proof and machine washable. Check those labels, however! Don’ assume all wool is like this.
  • Most wools need to be washed by hand or dry cleaned.
  • Wool is popular for interior design fabrics because it is naturally flame retardant, again, because of its ability to absorb moisture.
Caring for Wool Fabrics

  • Wool is easy to care for. Because of its moisture content, it does not attract static electricity. Static attracts dirt.
  • Make sure and check manufacturer’s recommendations for dry cleaning or hand washing.
  • Most wools need only be cleaned 1-2 times a year depending on use, of course.
  • Dirt only sits on the surface of wool fibers and can often be simply brushed off.
  • Treat stains immediately using a clean cloth to lift out of the stain as soon as possible. Rubbing the stain will drive it deeper into the fibers making removal more difficult. Stubborn stains should be handled by a dry cleaning specialist. 
  • If wool gets wet, hang it up out of direct sunlight to dry. Direct sunlight can damage wool.
  • Wool articles should be stored clean and in airtight bags or containers.
Sew Happy,

Thursday, November 4, 2010

Fiber Friday -- Denim

"Forever in Blue Jeans" by Maria Dryfhout
Aw…denim. Reliable, sturdy, comfortable, wear-it-anywhere, do-anything-in-it denim. What would our lives be without it? Good question, huh? I really don’t want to know, do you? Let’s not go there and instead focus on its presence and uses.
Long known for its strength and durability,
denim began as a humble work fabric for gold miners in California
as well as railroad workers and sailors of all nationalities.
Anywhere hard labor was a factor,
the need for strong, durable fabrics was a must.
Denim fit the bill.
Now, denim is a fashion staple, a wardrobe must have.
Mostly found in the way of pants or “jeans” as they are commonly referred to,
denim finds its way into
jackets,
skirts,
dresses,
shirts,
coats,
hats,
 bags,
belts,
formal wear
and it is even found in interior design.
It is dressed up,
 dressed down
and goes with absolutely anything and any color.
Name a color that just doesn’t work with denim, I dare ya!
Here are some facts on denim I found in my search to know this fabric and its uses a little better.

* 40% of the world’s textile trade is cotton which is what denim is mostly made of.
* You can get 225 pairs of jeans out of 1 bale of cotton.
* Denium comes from the French name “serge de Nimes” and shortened to denim.
* Levi Strauss developed “jeans” using denim to fill the need for strong, durable clothes for miners during the California Gold Rush. These were made further desireable for long wear due to the copper rivets found at the pocket stress points. About that same time, railroad workers wore a similar fabric called hickory cloth that was denim with black and white contrasting threads creating a stripe. It was called hickory cloth as it was thought to be “as tough as hickory wood.” Just as a side note, Levi Strauss’ name was originally Loeb Strauss and had migrated from Bavaria. After he obtained his citizenship and went to San Francisco to court the gold miners of the Great Gold Rush with his denim copper-riveted pants, he changed his name to Levi. Interesting reading on Levi and the history of the Levi Strauss company can be found at the Levi Strauss website at http://www.levistrauss.com/Downloads/History-Denim.pdf
* The term “dry denim” refers to denim that has not been washed after the dying process. I think it safe to say that all denim used to be dry denim. Remember those good old days when new jeans meant lots of washing, drying, pounding, bleaching or any other method one could come up with to remove that extra dye and make them soft and comfortable? Fortunately, today much denim is prewashed to gain that desired softness and color that many folks demand in their jeans. The old days of “breaking in the jeans” are replaced with off-the-rack style and comfort. Jeans even come with holes to give it that worn look. That, I should say as a veteran of patching the knees of many pairs of jeans, is something that I continue to shake my head at. But, what fashion demands someone will make eventually do. Beats taking them out and shooting B-Bs at your jeans for the desired effect (yes, I really knew someone who did that regularly).
* Most denim is made of a twill weave as the two examples show below. Look closely at any denim and you will see similar weaves.


* Denim will last for years with the proper care. Though denim can stand up to hot water washings and high heat drying, if you want your denim to last, use care in laundering them. Wash in cold water with a non-bleach detergent and line dry. Of course, most denim washes and wears very nicely without too much fuss. Even shrinkage is at a minimum now and stay true to size even after many, many washes.
* Denim fabric is mostly cotton but can be blended with other fibers such as polyester and, of course, Spandex, the later of which is a really blessing to those of us who need a little give in critical areas of fit. Polyester can aid in giving denim less shrinkage and less wrinkling. However, in my experience, it takes away some of the softness and absorbance which are a couple of reasons why I like denim clothing. But, that’s a personal matter, I suppose.

So, here’s a challenge for you. Watch for denim in your everyday life. Pay attention to who is wearing it, what it is made up into, the different colors of denim, etc. You will be amazed as to its variety.

Sew Happy,
Suzie


.

Friday, October 29, 2010

Fiber Friday -- Bamboo

There has been a real surge of bamboo in the clothing/textile industry of late. I, for one, knew little about bamboo and its properties. I have seen it in the fabric stores and even was tempted to purchase some yarn because it is SO soft. I could easily imagine something soft and cozy knit up in this yarn. Bamboo has intrigued me enough to do a little research on it and I came up with some interesting facts.


*Bamboo is classified as a grass. It is the fastest growing grass on the planet growing an average of a yard a day and once harvested, grows back very quickly. It grows naturally without the benefit of fertilizers or pesticide making it a very eco-friendly plant to grow.

*However, while the bamboo itself is eco-friendly, the method of processing isn’t necessarily so. Harsh chemicals can be used in its processing. Once harvested, the fiber is “cooked” using chemicals such as sodium hydroxide and carbon disulfide into a viscose (golden-brown solution) and then restructured into a yarn suitable for weaving/knitting. While there are processes being established to lessen the use of chemicals in the manufacturing of bamboo that will hopefully replace this method, it is still used and is considered cost effective in providing bamboo products to the consumer. Hence, bamboo textiles really are not all that eco-friendly.

*The alternative method of processing is done mechanically much in the same way linen fibers are harvested from flax, removing the fibers from the plant, breaking down the enzymes that hold the fibers together and then combing out the fibers for spinning. Even though this is eco-friendly, it is labor intensive and, therefore, much more expensive to produce meaning a much higher priced item for the consumer which, from what I gather, is the reason the chemical method is preferred.

*Bamboo is 100% biodegradable even with chemical processing. In fact, it often improves the soil quality.

*Fibers are light and strong, take dye easily and have a natural UV protection.

*Bamboo has anti-fungal, anti-bacterial properties and is considered hypoallergenic and a good fabric for those with sensitive skin.

*Bamboo is highly absorbent – 3-4 times more wicking ability than cotton.

*Easy to launder and maintain.

Sew Happy,
Suzie

LinkWithin

Related Posts Plugin for WordPress, Blogger...