Friday, December 3, 2010

Fabric Friday -- Satin

It seems odd
for it to be the Christmas season and
about the only thing on my
mind right now is
a wedding dress.
I have to keep reminding myself
that I still have a major
holiday event to
plan and prepare for
but this dress is
what is taking
up most of my brain processes these days.

But can you blame me?  
I am so EXCITED
to do this dress!  

It's the sewing challenge
I have been craving
and waiting for
for a long time.
So, 
amid all the 
long lines,
decorating, 
baking, 
wrapping, 
plotting
and
planning of the season,
I'm studying up
on all the finer points
of gown design and construction.

I thought I would share with you
a bit of knowledge about satin and some of the
beautiful dresses
available
 today
for Fabric Friday this week.  

Great Things About Satin 
*Satin can be made from silk, rayon, acetate, polyester or even cotton. 
*It is the staple for the wedding gown industry. 
*It is considered one of the most luxurious fabrics in the world,
especially if made with silk.
*Satin is used in apparel, draperies, lingerie, linings, upholstery
and even shoes.
*Satin derives its shine or luster from the way it is woven.  
*Light reflects off of the warp yarns (lengthwise yarns)
that float over the weft yarns (horizontal yarns).
*It's soft. 
*It has a special luster. 
*It's elegant. 
*It's perfect for a princess! 
Types of Satin 
*Crepeback Satin - Highly twisted yarns are used as the weft or filling yarns while low-twisted yarns are used in the warp.  This produces a very soft, drapy, clingy version with a high amount of shine depending on fiber content. 
The back of the fabric will remind you of the texture of crepe paper.
This is commonly used in evening wear and lingerie.
*Antique Satin -  Uses slub yarn (thick & thin, a natural spun look) in the weft giving the fabric a look of fabric that is hand produced. 
Most common in wedding gowns, costumes or interior fabrics. 
*Duchesse Satin - High yarn count of a finer yarn both in warp and weft.  Crisp, heavier body than most silks.  Luster dependent on fiber content but usually a lower luster. 
Most common bridal satin available on the market today.
*Slipper Satin -  Heavy, stiff satin used in the shoe industry.  Typically, this is not available in your local fabric store.  
Sewing with Satin 
Laying out Pattern & Cutting 
1.  Scissors and pins should be very sharp.  Dull equipment will snag satin.  Once it's snagged, there's no fixing the problem. 
2.  All satin has a nap, or a directional shade difference, caused by the weave.  All pattern pieces need to be layed out and cut according to the nap instruction of the pattern.  Don't ignore this.  
3.  Pin fabric to an old sheet or sheets of tissue paper to keep it from shifting during the cutting process.  No shifting means accurate cutting and accurate seaming.  
4.  Speaking of pins, make sure they are nice and sharp AND pin only in the seam allowances of the pattern.  Pins break the "floating" fibers and once broken and cause pin marks that just do not go away.  Try "silk" pins. 
That being said, pins are so important in helping control satin as it has a mind of its own.  Use pins to keep control,
just be mindful where you put them.
5.  Avoid "ripping" out seams.  Make all the proper fit adjustments prior to sewing and sew carefully.  Too much ripping out leaves unsightly marks. Again, these just can't be fixed.   

Stitching
1.  Use a new sewing machine needle.  With a large project like a wedding dress, I try and have half a dozen or more of the size I'm using on hand and change every so often, especially if I've hit a pin or sewn for many hours with the same needle.  
2.  Make sure the needle size and thread size are compatible with the fabric.  I tend to use a finer needle, 7 or a 9, with a lingerie thread
for most of my gown sewing. 
3.  For finer satins, use a base of tissue paper under your two layers of fabric that you are sewing to keep it from drawing down into the bobbin area and cazing a nasty jam.  Been there, done that.  Sigh.  This also can help to keep the layers from slipping around on the machine bed. 
4.  Try a walking foot, if you have one, when sewing.  This will keep the layers together and not slipping against one another.  A real lifesaver. 

Pressing
1.  Keep in mind the fiber content on this one.  Polester will take a bit more heat than silk.  Always test iron temperatures on scrap pieces prior to pressing.  Start low and increase temp as needed.  
2.  Use a PRESSING motion (up and down) not a side-to-side ironing motion.  You can easily over press satin as well as iron in creases or even flatten the weave and dull the shine.  Go easy.  Press just enough to acheive flat seams, crisp point, etc., but don't over do.  
3.  Never use steam.  Water stains satin.  Fabric ruined.  Enough said.  
4.  Use a pressing cloth.  Even tissue paper can be used in a pinch on low heat.  
5.  Prior to pressing, make sure iron is free of dirt, grim, scum and is smooth.  Same with the ironing board.  A new ironing board cover is a good investment at the start of a big project. 

Sew Happy!  

  

Thursday, December 2, 2010

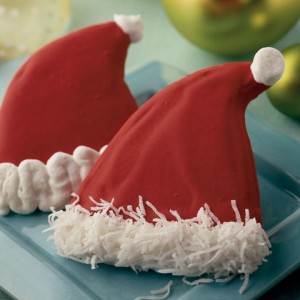
Sugar Overload or What to Leave Santa With That Milk

These just scream
LEAVE ME FOR SANTA,
don't they? 

Cupcakes being all the rage,
it's natural to expect them to
show up at some point in cookie form. 
Aren't these pretty? 
Inspiration found at the The Cupcake Blog
Here's a friendly little guy. 
What's Christmas without Gingerbread Men (and women)
Has tons of great gingerbread recipes! 
The Food Network is a great source
for some fabulous holiday treats like
Wow!
I love ways to get more cookie
into a cookie!
That means more cookie in the mouth! 
Yes!
brings us some buttery, light
Spritz cookies,
aways a Christmas favorite! 
And last but certainly not the least,
my mom's
best,
ultimate,
totally awesome
Christmas NEVER happened without
dozens made well in advance,
stashed in the freezer, then
carefully packaged and
handed out to neighbors and friends. 
Try them with red and green M&Ms!

No matter what comes out of your
ovens this Holiday Season,
may there be many
loved ones around you to share! 

Sew Happy,

Tuesday, November 30, 2010

The Wedding Dress - The Saga Begins

As I mentioned in another post,
my son, Sam, and his girlfriend, Bobbie,
have decided to tie the knot for eternity.
She has done me the honor of
turning a pile of white satin and lace
into
a
fairytale
creation
for her special day.

No small task.

She has chosen this as the basis of your dream dress.


It is beautiful, to say the least.
The style and cut are perfect for her.
She will look like a princess, for sure.

Now the journey begins.

I'd like to share this journey if I may.
Perhaps along the way
I can share what I learn
and
perhaps
inspire.

The first dilemma with a dress like this is
the pattern.
It doesn't exist.
At all.
No where.
So, that leaves me with a couple of options.
1. Take two or more patterns (bodice, sleeve and skirt) and combine them.
I've tried this method before.  This has worked okay for me in the past.
or
2.  Draft the pattern from scratch.
Not for the faint hearted and certainly a challenge.

I'm flip-flopping between the two methods and am leaning towards
drafting it from scratch.
Why?
I'm a glutton for punishment?
Crazy?
Have nothing else to do with my life?
No.
(okay, crazy probably apples here)
Intuitively, as a seamstress,
I'm thinking this is the best method for this dress
and this girl.
It's not that I don't have any experience with this method, mind you.
I was a clothing and textile major in college
and have some pattern drafting experience.

But it has been years.

I've researched a few sites online for helps.
I finally ordered a book at Amazon to guide me.


It's due to arrive this Friday.

Darn, if I'm not excited!

Sew Happy,

Monday, November 29, 2010

Saturday, November 27, 2010

Journal/Notebook Tutorial - My Version

I know, I know, I know.
There are tons of tutorials
about journal/notebook covers out there.
I've seen them.
I'm going to add one more
to the mix.
My version.
Not that my way
is the only way.
Heavens no.
This is just my technique.
Good or bad.
It works for me.
I can put one of these babies together in about a half an hour.
Yes.
Half an hour.
In this season of
make sure everyone gets a gift,
make it inexpensive,
make it easy,
make it cute,
but most of all
make it
fast,
I felt that this little journal/notebook cover
fit the bill.
So, I'm sharing.
Apologies in advance for
the photography
(I'm just not an expert).
Tutorials are still a bit of an
unknown territory
for me.
Questions?
Leave me a comment and e-mail.
I'll try to clear up any questions quickly.

First, you will need:

1 composition book
23" x 12" of fashion fabric
20" x 6.5" of embellishment fabric
coordinating thread
pins
scissors
seam gauge or ruler
sewing machine


 Make sure the fabric is prewashed and pressed nicely.
Fold the fashion fabric in half (short ends together)
and press a nice crisp crease.
Open the fabric and lay the notebook spine
along that crease.
 With a marking tool,
(I broke a sewing commandment and just used a regular old pencil),
make a mark along the long edge of the book.
This should be on the INSIDE of the fabric.
 Fold right sides together along this line and press a nice crease.
Doing this will help us to know the edge of the book
giving us the book's boundries as we are doing our embellishments.
Trust me, this will save you tons of aggrivation
as you are decorating the journal.
 Do this on both ends of the fabric.
These are also the pockets for the notebook's flaps to slide into.
 Now for the embellishment.
Let me just say that I have my own style with all of these covers
and
this is the point where you decide how and with what to
embellish your cover.
Go wild
and
do whatever
you want to now.
The fabric is flat and easy to work with.
The creases that you have ironed into the fabric
show you exactly where the edge of the book is
and where the spine will lay.
So, have some fun with it and make it special.
But, here's what I do.
 I take the 20" x 6.5" fabric and press it really nice.
I then fold it in half lengthwise and press again.
 I then open up the fabric and fold one lengthwise edge
up to the crease and press.
 I do this on both sides and
 come up with something that looks like this.
I then turn up the one of the short ends about 3/4"
and press it down nice and flat.
  Opening that fold up, I take the corner and fold
it on the bias matching the fold lines.
I use the bias line on my ironing board for a guide.
Press.
 I then refold the lengthwise side back along its crease like so.
 I refold the other fold along its
crease and press.
I repeat this process on the other corner.
 I now have two nice sharp corners.
I lay this strip of fabric right along the center crease
about 3-3/12" from the top edge.
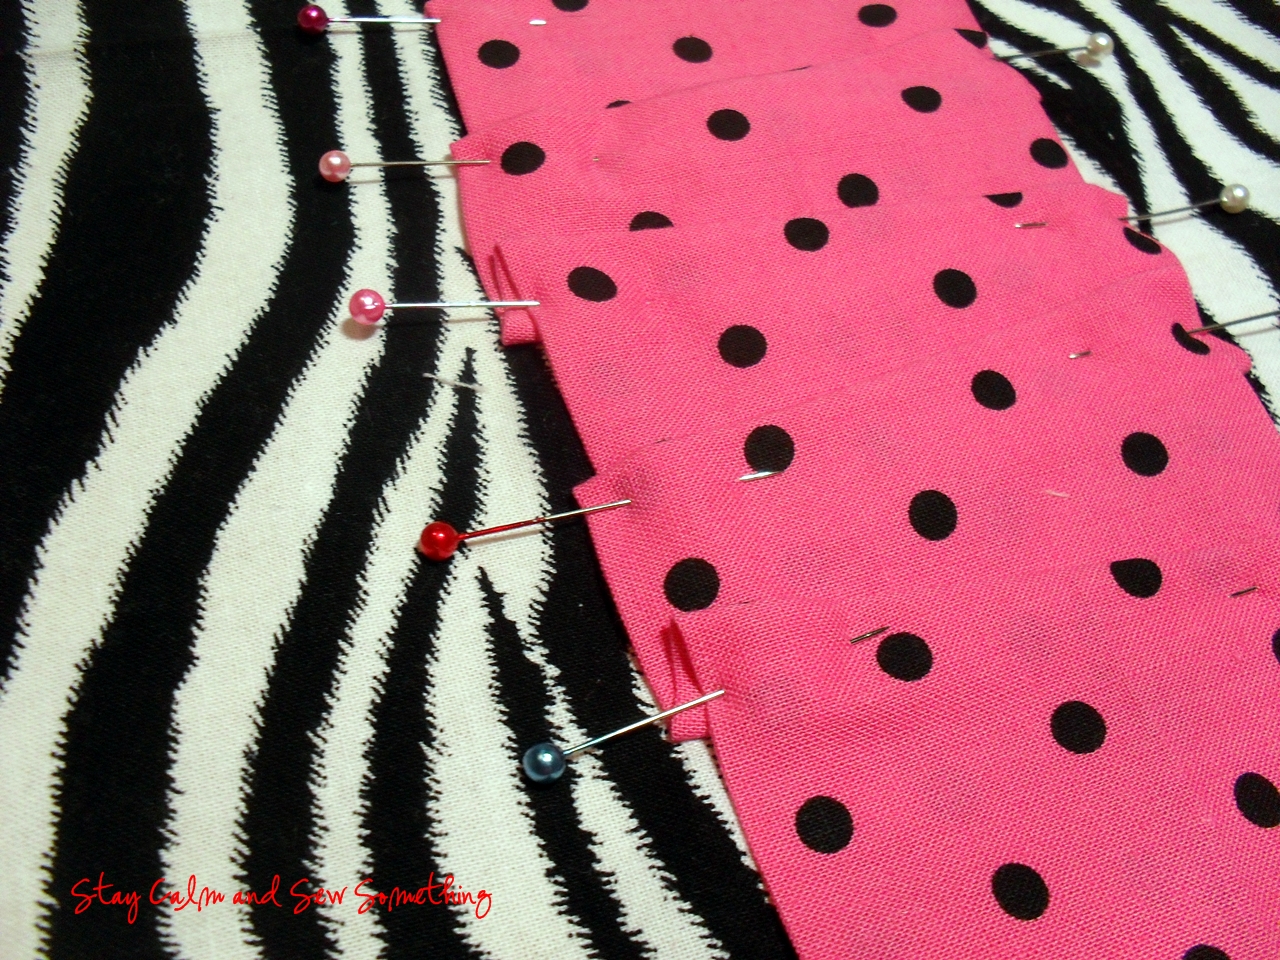
Pin in place.
 I then begin my pleats.
No rules on the pleats.
I just fold it.
This can be off a bit crooked or nice and straight.
Depends totally on my mood.
If I've made tons of these in one day,
they may be just pretty crooked.
That's style, isn't it?
 I'm a real pin freak and pin, pin, pin.
I like control over my fabric and
not allow it to have
control over me.
I stop the folds just before the crease that marks the edge of the book.
I just lay out the fabric and pin it down to be sew flat.
This wraps the embellishment fabric
into the inside of the book.
A nice touch, I think.
But you could stop it at the crease, especially if you were short on fabric.
Just be sure beforehand to fold up both short ends
and make nice sharp corners at all four corners insead of just the two.
 All pinned down, it will look something like the picture below.
 When I begin stitching,
I start out using my pressure foot edge as a guide,
but if my pleat edges aren't straight, I have to eye-ball it to
keep the stitch line straight.
Using a ruler and fabric marker ahead of time to mark a stitch line
is really a good idea here.
 When I get to the edge of the book (center crease)
I do a pivet turn and stitch rather close to the edge,
pivot again and continue sewing down the other side.
 My design looks something like this after stitching.
I will then trim off any excess fabric like I show below.

 At the point, we are ready to do a little sewing
and turn this fabric into a notebook cover.
When you have done your decorating,
you will want to finish off the raw edges of the
cover by either using a serger, as I have done,
or use a simple zig-zag stitch.
Go around all four sides.
 Lay out your cover flat and fold up the flaps that will
become the pockets for the notebook,
right sides together.
This is the fold you ironed in earlier
along the marked line.
 Now, take the notebook
and lay the page edge of the book
right along that fold.
Center the book carefully.
 Take your fabric marker of choice and trace the top and bottom edge
of the notebook right onto the fabric.
This will be the line you will stitch along to
form the top and bottom of the cover's pockets.
Do this on both sides of the book cover.
You will have four stitch lines in total, one at each corner of the cover.
 Pin and stitch along all four line markings.
 Turn the corners right side out.
Get those corners nice and sharp.
At this point,
I always try the cover on my notebook.
I can make whatever adjustments I need
if the cover is too tight or to loose.
After you have made any adjustments
and made sure the fit is right,
press the cover nice and smooth.
Pay attention to the corners and the
top and bottom edges.
Pressing well will make a world of difference
in the look of the finished cover.
 After you have pressed the cover, slip it on the notebook.
Now, go out there and make some fabulous gifts!


Sew Happy,

LinkWithin

Related Posts Plugin for WordPress, Blogger...